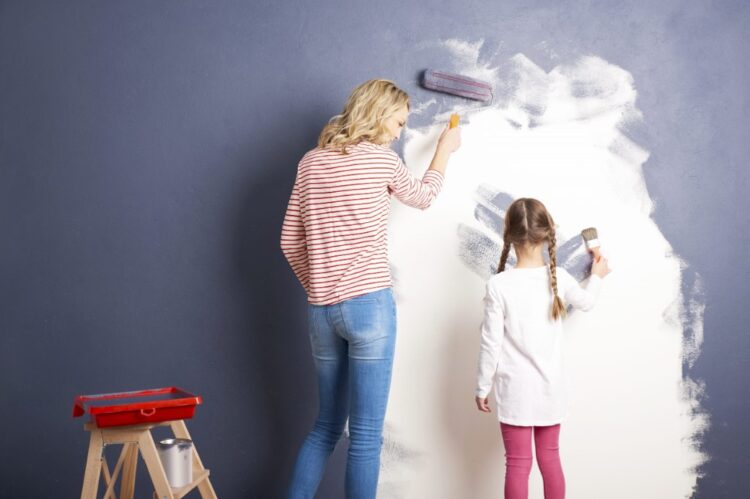
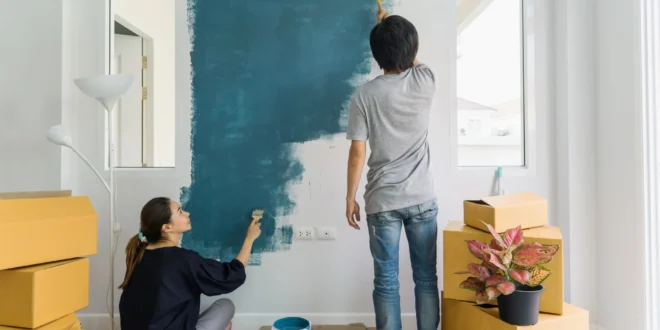
Are you looking to give your home or office a quick makeover without spending too much time or money? Keep reading to find out some simple wall painting tips and ideas that can transform your space in no time!
1. Preparing the Room for Painting
Before you begin painting, it is important to properly prepare the room for the task. This includes ensuring that all surfaces have a smooth and even finish by using sandpaper, removing wall decor and furniture, covering any flooring with a protective cover or drop cloth, and wiping down surfaces with soap and water. It is also important to remove any dust or dirt that may be on the walls.
Once the room is prepped, begin by applying an even coat of primer to your walls. Primer not only helps seal in any imperfections, like patchiness or discoloration in the wall’s surface, but also helps create an ideal foundation upon which to apply paint. As with wallpapering, it can be helpful to lay out painter’s tape in order to correctly mark off edges like around windows or door frames.
When painting in multiple colors, opting for a lighter base on the walls may provide balance since darker colors tend to draw attention away from transitions in design elements such as crown molding or bead boards. Finally, use multiple light sources during your painting process so that you can ensure no missed spots or unevenness will ruin your finished product. If you don’t want to hassle around painting but want professional work done, make sure to definitely contact lgcdecorators.co.uk.
2. Painting Techniques and Tools

Whether you’re creating an accent wall or giving your entire space a fresh, new look, painting techniques will play an important role in how it looks once it’s complete. Here’s what you need to know about the various techniques and tools available.
- Brushing: This is the most traditional technique, and it involves using natural bristled or nylon brushes to paint walls, ceilings, and trim. It works best for small spaces or intricate areas where it can be hard to roll paint evenly.
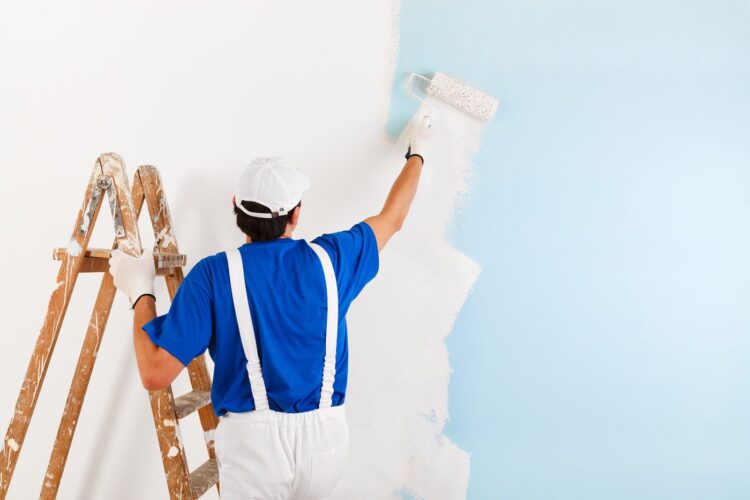
- Rolling: For larger surfaces like walls and ceilings, rolling is the best option for even coverage in less time. Choose from two types of roller coverings for different finish types – a lambswool microfiber blend for smooth finishes or thick naps for textured finishes.
- Spraying: This method typically requires more specialized equipment than brushing or rolling – designed with air compressors, hoses, and large spray guns that disperse a thin mist of paint over large surfaces quickly. Hiring professionals often provide great outcomes when spraying techniques have to be used extensively in your house painting project.
Before getting started on any kind of this project, make sure you are fully prepared with all the pieces necessary including masking tape, tarps/drop cloths, tar paper (to protect windows), ladders or scaffolding if needed, stir sticks and rags/cloths (for clean up). Different brushes give particular types of finishes – choose appropriately based on your task/type of wall painting work being undertaken as well as your budget.
3. Creative Wall Painting Ideas

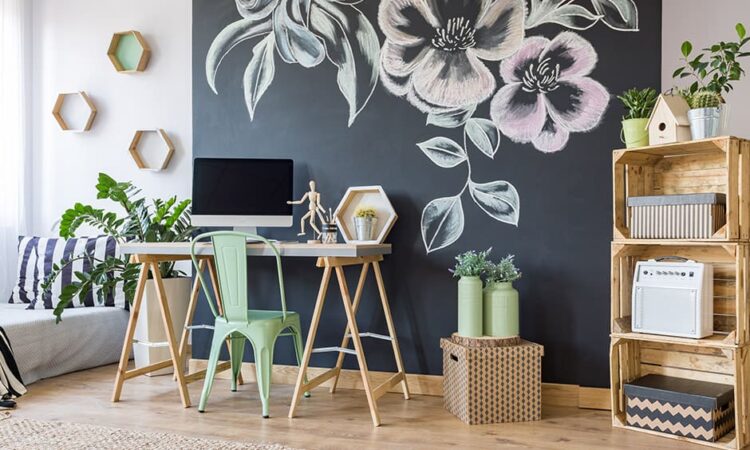
Today, there are a variety of creative wall painting ideas to choose from when it comes to refreshing or revamping your space. From patterned and striped designs, to freehand murals and textured paint applications, the possibilities are truly limitless. Here are some helpful tips and ideas for bringing unique style into any home or office interior:
- Patterned Walls: By adding stripes, diamonds, or other shapes in contrasting colors, you can create special effects on any wall surface. Different types of wall texture can be highlighted by using a roller along with stencils and templates engraved with interesting patterns. Add depth by overlapping stencil patterns along the same wall.
- Textured Wall Paintings: Faux finishes is another interesting way to experiment with walls – Sponge painting impressionistic faux leather overlays onto a canvas-type material like paintable wallpaper is an especially great way to give a vintage feel to any room instantly. Experiment with plaster, spatulas, trowels even saws – anything that adds texture to your design idea will deliver an amazing end result when complete!
- Painted Panels: Instead of applying it over a large continuous surface why not fill various panels up your wall in different shades? Pre-made geometric shapes dotted onto the feature walls make for an interesting piece of artwork!
- Go mural hunting!: Investigate public spaces nearby for inspiration; murals have been used historically as tags for nomadic cultures as well as decorative pieces for public entertainment areas – draw inspiration from these unique forms of art by taking photos and replicating them accordingly on your home’s walls when you get back!

4. Finishing Touches for a Professional Look
When it comes to finishing touches, the devil is in the details. Taking the time to choose high-quality materials, prep your walls and create clean lines with painter’s tape will give your project the professional touch it deserves without having to hire a professional.
Once you’ve finished it, there are a few more tasks that can really make your work shine. Caulking and patching any holes in your walls will improve its overall look, while baseboards and trim work can give a room an extra level of detail as well. It’s also important to choose an appropriate type of paint depending on the location and desired effect – choosing between gloss or semi-gloss sheens might be beneficial if you desire a shiner result from trim painting in high-traffic areas or gloss paint for surrounds on doors or window frames. Lastly, a sealant coat can protect surfaces from moisture and staining; this is especially apt for kitchens or bathrooms where steam or peeling wallpaper may present problems.
To ensure durability against wear and tear over time, use touch-up paints specifically designed for airtight containers and easy application – these commonly have custom applicators that provide greater coverage with little effort. For added anti-bacterial protection (especially helpful if used in nurseries), opt for mold/mildew resistant paints as these are designed to provide enhanced protection against tough stains that regular water-based latex paints cannot guarantee due to the lower concentrations of their ingredients. No matter which type of paint you’re using, detailed cleaning and looking over the area once more before applying it should suffice in order to guarantee lasting results when you purchase appropriate products!
 Hi Boox Popular Magazine 2024


