Have you ever looked at your car and wondered how you could give it a fresh, eye-catching appearance without breaking the bank? DIY car wraps offer an exciting and creative solution for transforming your vehicle’s look, allowing you to express your personality while protecting your car’s paintwork.
With a little preparation, the right materials, and a bit of patience, you can achieve professional-looking results at home.
Why Choose a Car Wrap?

Car wraps are a fantastic alternative to traditional paint jobs. They provide a cost-effective way to customise your car’s look, whether you want a sleek matte finish, a vibrant colour change, or even a bold graphic design. Wraps also act as a protective layer for your car’s original paint, shielding it from UV rays, minor scratches, and daily wear and tear.
Plus, wraps are completely reversible – if you ever tire of the design or plan to sell your car, you can simply remove the wrap, leaving the original paint intact and in excellent condition.
Tools and Materials You’ll Need
Before diving into your DIY car wrap project, it’s important to gather the right tools and materials – here’s what you’ll need:
- Vinyl Wrap: Choose a high-quality vinyl wrap that suits your desired look.
- Squeegee and Heat Gun: These help smooth out wrinkles and ensure the wrap adheres properly.
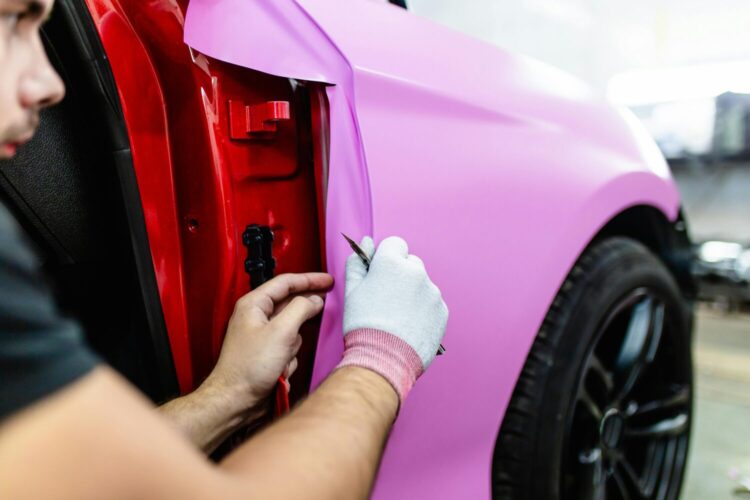
- Utility Knife: For precise cutting around edges and trims.
- Cleaning Supplies: A thorough cleaning of your car surface is essential for the wrap to stick effectively.
- Detailing Accessories: For an even more polished finish, check out professional supplies from Detail Central.
Preparing Your Vehicle

Preparation is key to achieving a flawless car wrap. Follow these steps to ensure success:
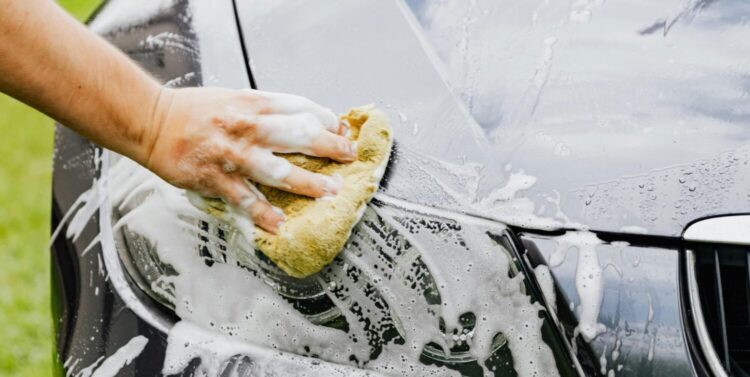
- Clean Thoroughly: Wash your car with soap and water, then use isopropyl alcohol to remove any grease or residue.
- Remove Obstacles: Take off detachable parts like mirrors, door handles, and badges to make wrapping easier.
- Measure and Cut: Measure your car’s panels and pre-cut the vinyl wrap, leaving extra material for adjustments.
Application Tips for DIY Car Wraps
While applying a car wrap can be challenging, the process is rewarding with the right approach. Keep these tips in mind:
- Work in Sections: Apply the wrap one panel at a time, starting with flat surfaces before tackling curves and edges.
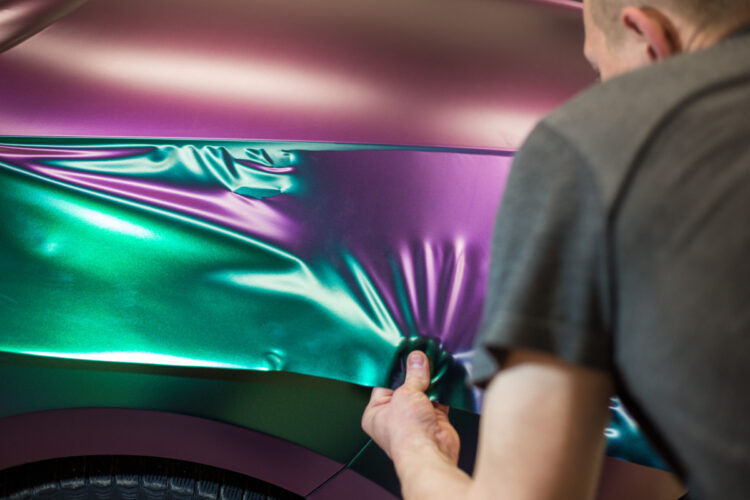
- Use Heat: A heat gun softens the vinyl, making it more pliable and easier to mould around complex shapes.
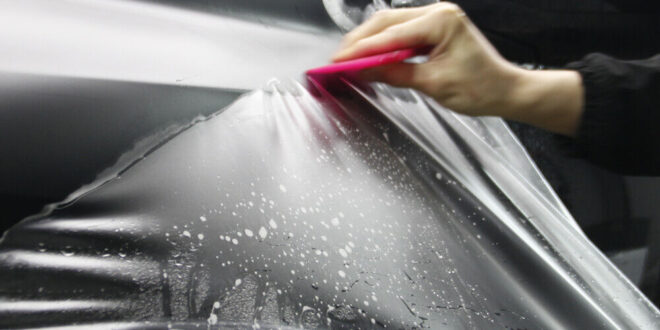
- Smooth Out Bubbles: Use a squeegee to push out air bubbles as you go, working from the centre outward.
- Take Your Time: Rushing can lead to mistakes. Work methodically for the best results.
Why DIY?

There’s something incredibly satisfying about transforming your car with your own hands. DIY car wraps not only save money but also give you full creative control over your vehicle’s appearance. Whether you opt for a glossy finish, a striking pattern, or a minimalist matte, the possibilities are endless.
Wrapping It Up
DIY car wraps are an excellent way to revitalise your vehicle while showcasing your creativity. With the right materials and a bit of effort, you can achieve a stunning transformation that turns heads on the road. So why not grab some vinyl, roll up your sleeves, and start your car wrapping journey today? Remember, the key to success lies in preparation, patience, and the right tools – your dream car makeover is just a wrap away!
 Hi Boox Popular Magazine 2024


