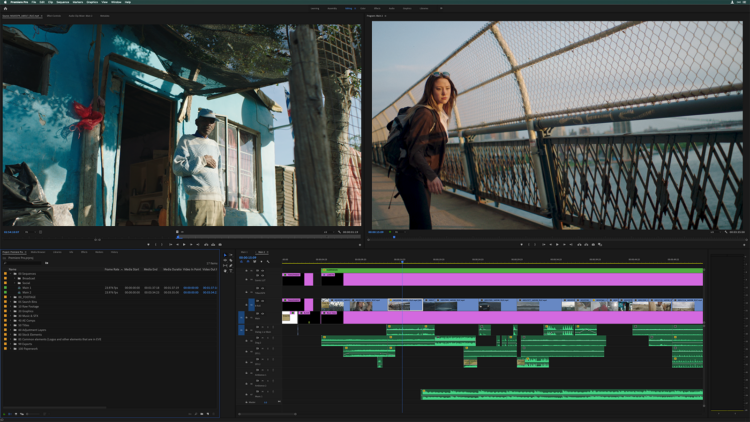
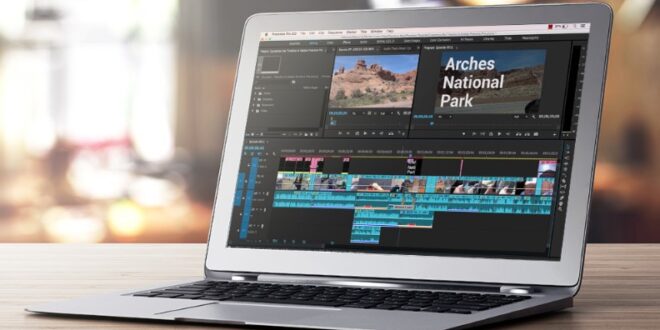
When you work on your video projects in Adobe Premiere Pro, working with your timeline is unavoidable. So, why not make it more accessible for you through a little customization? This way, it will be more convenient for you to work, especially when you opt to use a lot of transitions and effects: https://studioplugins.net/product/premiere-graphics-effects.
Besides, your timeline by default goes with many options that won’t be used this often. They clutter the working space, but achieving a minimalistic look of your timeline is still easy. This step-by-step guide will show you how to declutter your timeline and customize it to meet your editing needs.
Customizing your timeline on Adobe Premiere Pro

In this tutorial, we’ll work with the basics of settings and menu, and proceed to more sophisticated tools.
Editing the panel menu and changing timeline display settings
You can start your customization with the basics – you’ll need to open the timeline display settings in order to do that. Most of the basic timeline settings are in this tab. To open it, click on the wrench badge on the timeline panel. After that, you have a few customization options to choose from.
1. Show thumbnails. By choosing this option, you can add a reference frame to every clip to make it easier for you to identify it in the process of editing.
2. Show keyframes. Enabling this option can be beneficial for those who actually do keyframing or animating. If you’re not doing it, you can disable this option and remove it from the timeline display.
3. Show video names. Again, this is your option in case you want to identify every clip. You can enable this option with or without enabling audio names on the display.
4. Show audio waveforms. If you don’t focus on audio editing too much, the constant display of audio waveforms can clutter your timeline too much. So, you can disable them. Although if you are going to sync audio and video, you’ll need these waveforms, so maybe you don’t want to disable this option.

5. Show audio keyframes. There goes the same thing as with video keyframes ‒ you can choose to display them if you need basic keyframe info on your audio clips (or disable them if you don’t).
6. Show audio names. Sometimes you don’t need to clutter your timeline with extra text ‒ audio names can be easily disabled in this menu.
7. Show markers. Now, clip markers are your best helpers when it comes to identifying clips. Although if your eyes get too tired of them, you can disable this option ‒ it will seriously declutter your timeline.
8. Show duplicate frame markers. You can enable this option to optimize your workflow: whenever there are duplicate clips accidentally popping on your timeline, this option will mark duplicates and allow you to quickly delete extra clips.
9. Show through edits. So, what are through edits? Through edits are clip edits without any frames missing. If you want to see any unnecessary edits, you can turn this option on. However, it’s not that necessary if you’re an experienced Adobe Premiere Pro user.

10. Show FX badges. Now, if you’re working with effects, you need this option enabled. A grey badge will tell you that no effects are applied to the clip and no keyframes are set, yellow ones will indicate the existing keyframes, and purple will indicate applied video effects on the clip.
11. Preview the composite. You can turn this option off if you want to see a full-screen preview of the frame you’re trimming exclusively. As an alternative, you can turn it on to double-check or trim: the composite preview is used to compare the composites of the frame in trimming and the frame of the clip on the timeline.
12. Minimize all tracks. If you’re getting lost in your audio and video timelines, you might want to zoom them all out. It’s a pretty handy feature, especially if you have a small display or if you have a lot of clips and properties on your timeline.
13. Customize headers. If you love everything in your timeline to be organized, you can edit the audio and video headers to your liking.
Also, you can do some customization in the panel menu. Here you can edit the way your audio waveforms look, the way time units are displayed, and much more.
You can also find a lot more settings both in the timeline display settings and the panel menu ‒ don’t be shy to explore and fully adjust your timeline to your editing needs. Whatever type of video content you’re working on, Adobe Premiere Pro allows you to make the editing process as easy as possible.
 Hi Boox Popular Magazine 2024


