Read on to find out what you need to consider, steps to take before and after the transfer, and tips for avoiding common pitfalls.
Looking to switch internet service providers? Don’t let the process of changing ISPs stress you out, as you sit and wonder ‘how do I transfer my internet?’. Our ultimate checklist can help you make a smooth transition.
Why Transfer Your Internet Service Provider?
Switching internet service providers can be a daunting task, but it’s worth considering if you’re experiencing slow speeds, unreliable connectivity, or a lack of support from your current provider. By transferring to a new provider, you can potentially get faster speeds, better service, and a more reliable connection.
Additionally, if you’re moving to a new home or office, transferring your internet is necessary to ensure you have internet access when you arrive. It’s also a good opportunity to evaluate your current plan and see if you can get a better deal or a more suitable plan with a different provider.
Ultimately, transferring your internet service provider can be a beneficial move that results in a more satisfactory internet experience.
Assessing Your Current Internet Plan and Equipment

Before transferring your internet service provider, it’s important to assess your current internet plan and equipment. This means reviewing your internet plan’s speed, data cap and any other limitations or restrictions. It’s also important to assess the age and functionality of your current equipment, including your modem, router, and any other devices that may impact your internet connection.
By taking the time to assess your current plan and equipment, you can determine whether or not you need to upgrade your equipment or plan, and whether or not you’re getting the best possible internet service for your needs. This can also help you determine what type of internet plan and equipment you’ll need with your new provider, and can potentially save you money in the long run by avoiding unnecessary upgrades or overpaying for services you don’t need.
Researching and Selecting a New Internet Service Provider
Researching and selecting a new internet service provider is a crucial step in the process of transferring your internet. It’s important to research and compares different providers based on factors such as speed, reliability, pricing, and customer service.
Reading reviews and asking for recommendations from friends and family can also help make an informed decision. You should also consider whether the provider offers any additional features or services that may be of benefit to you, such as free Wi-Fi hotspots or extra security features.
Once you’ve narrowed down your choices, it’s important to contact each provider and ask any questions you may have, such as installation fees or contract lengths. By taking the time to research and select a new internet service provider, you can ensure that you’re getting the best possible internet service for your needs and budget.
Preparing for the Transfer ─ Scheduling and Equipment Requirements

Preparing for the transfer of your internet service involves scheduling the transfer and ensuring that you have the necessary equipment for the new provider. You should schedule the transfer well in advance to ensure that you have internet access when you need it, and to avoid any potential downtime.
You should also check with the new provider to ensure that you have the necessary equipment, such as a modem or router, for their service. If you need to purchase new equipment, it’s important to do so ahead of time to ensure that it arrives in time for the transfer.
Additionally, you should ensure that you have all the necessary login information and account details for your current provider, as well as any necessary setup instructions for the new provider. By preparing in advance for the transfer, you can avoid any potential complications or delays and ensure that the transfer goes smoothly.
Making the Switch ─ Day-Of Transfer Steps and Troubleshooting Tips
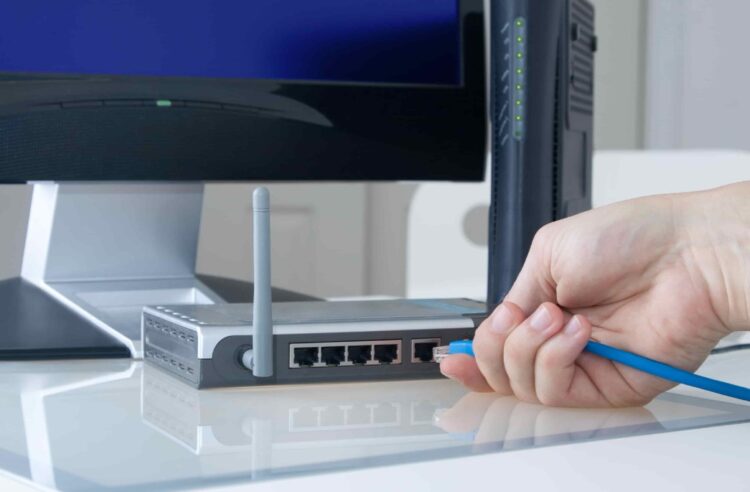
Making the switch to a new internet service provider involves several steps and potential troubleshooting. On the day of the transfer, you should start by disconnecting all devices from your current provider’s equipment and then connecting the new provider’s equipment. Once the equipment is connected, you should follow any necessary setup instructions provided by the new provider, such as activating the service or entering login information.
If you experience any issues during the setup process, such as a lack of connectivity or difficulty accessing the internet, you should consult the troubleshooting section of the new provider’s website or contact their customer service for assistance.
By following the day-of transfer steps and troubleshooting tips, you can minimize any potential downtime or complications and ensure a successful transfer to your new internet service provider.

After the Transfer ─ Testing Your Connection and Finalizing Your Setup
After transferring your internet service provider, it’s important to test your connection and finalize your setup to ensure that everything is working properly. This involves testing the speed and reliability of your connection using an internet speed test, as well as ensuring that all devices are properly connected and configured for the new provider. If you experience any issues during the testing process, such as slow speeds or connectivity problems, you should consult the troubleshooting section of the new provider’s website or contact their customer service for assistance.
Once you’re satisfied with the performance of your new internet service, you should finalize your setup by updating any necessary information, such as Wi-Fi network names and passwords, and disposing of any old equipment from your previous provider. By testing your connection and finalizing your setup, you can ensure that your new internet service is functioning properly and enjoy a seamless internet experience.
 Hi Boox Popular Magazine 2024


